
When a small shed feels full, adding another shelf is not always the answer. A better layout starts with what you store, how often you need it, and the space you must keep clear to move items in and out. With a few deliberate changes, you can make the existing floor, walls, and storage zones work harder without making the shed harder to use.
1. Measure the Usable Space Before Rearranging
Start with a quick sketch of the shed. Note the inside dimensions, door opening, windows, built-in features, and any equipment that needs to move through the space. Mark the path from the entrance to the items you use most.
The door affects more than entry. Its position can interrupt a wall that might otherwise hold shelves or tools, and the route you take through the shed affects where storage can go. Measure the largest item you need to bring inside, too. A layout that looks roomy on paper may not work if a mower, wheelbarrow, or feed bin cannot turn through the opening.
Use the sketch to mark three things before buying organizers: storage walls, a clear route, and any area needed for work or equipment access. There is no single aisle width that fits every shed, so base the layout on the items and movements in your own building.
2. Sort and Prioritize What Belongs in the Shed
Take everything out if you can, or work one section at a time. Group items by type, size, and how often you use them. Separate daily tools from seasonal supplies and equipment that only comes out a few times a year.
Decide what truly needs to stay in the shed before shopping for shelves or bins. Duplicates, broken items, and belongings that have another suitable home take up space that could serve something you use. Keep disposal or storage rules in mind for chemicals, fuel, batteries, and other items that need special handling.
This inventory gives you a practical list for choosing storage. It also helps prevent buying organizers that do not fit the items you own.
For example, a rural property owner might keep daily-use gloves, hand pruners, and a flashlight near the entrance, while grouping spare fencing supplies and seasonal equipment farther back. If an item is broken or no longer used, decide whether it belongs in the shed before making room for it.
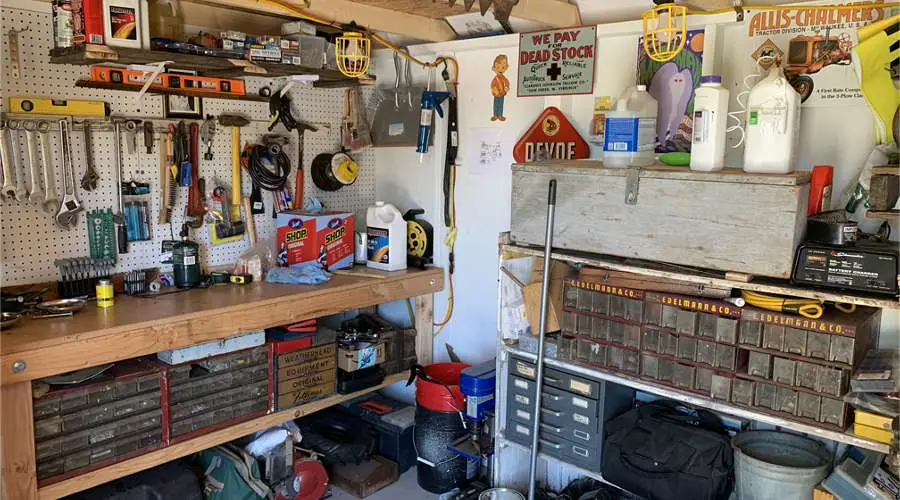
3. Plan Zones Around Access and Use
Put the things you reach for most often near the entrance and at a height you can reach comfortably. Store seasonal or occasional items farther back or higher up only if you can retrieve them safely.
A simple shed layout might have:
- Entry zone: everyday hand tools, gloves, and small supplies.
- Wall zone: tools or equipment that can hang securely and stay out of the travel path.
- Back zone: seasonal items or supplies used less often.
- Work zone: a clear surface and enough room for the task, if you use the shed as a workspace.
Adjust these zones to fit your own inventory. If you regularly move a mower or other large equipment, protect its route first, then place storage around it. A zone is useful only if you can reach what is stored there without shifting several other things.
4. Use Wall Space With Shelves, Hooks, and Tool Storage
Wall storage can move suitable items off the floor. Shelves, hooks, pegboards, and racks are options for tools and supplies, but choose a system based on item size, weight, and how often you need it.
Before mounting anything, check what the wall is made of and follow the organizer and building instructions for fasteners and weight limits. The available shed guidance does not establish how much a particular wall can hold. Do not assume that a panel, trim piece, or wall covering is a structural attachment point.
Keep heavier items low and stable. Put small parts in labeled bins, and place sharp tools so their working ends are protected and do not project into the route. Leave enough open wall or floor space to remove equipment without knocking into nearby items.
5. Consider Overhead Storage Carefully
Overhead storage may free floor or wall space, but only use it when the structure and storage hardware are rated for the planned load. A shed ceiling or roof member is not automatically a safe place to hang equipment.
If you are considering an overhead rack, verify the load limits and attachment method with the rack maker and the shed documentation or a qualified professional. Keep the stored items light enough for safe handling, preserve headroom, and think through how you will lift them down. If you cannot verify the structure or retrieve an item without strain, choose a lower storage location.
6. Choose Compact Storage That Keeps the Floor Usable
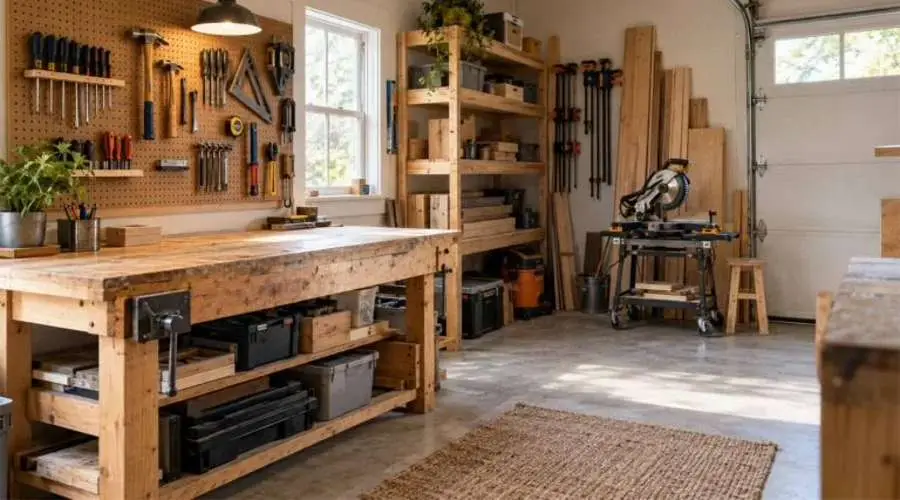
Use containers and shelves to make categories easy to see, not to fill every gap. Clear or labeled bins help identify seasonal supplies. A narrow shelf or workbench storage can keep small items together, while leaving room for larger equipment on the floor.
Before adding a unit, check its depth against the door route and the items you need to pass. Consider whether a stack of containers will block access to something stored at the bottom. Keep the items you use often at the front, and reserve harder-to-reach spaces for belongings you retrieve less frequently.
The goal is usable storage, not the highest possible stack. If you have to move several heavy items to reach one tool, the arrangement is not working well.
7. Protect Moisture-Sensitive Items and Allow for Airflow
Sheds can have different temperature and moisture conditions depending on their construction, ventilation, and climate. Keep moisture-sensitive belongings in suitable containers, raise them off the floor when appropriate, and inspect stored items periodically for signs of leaks or dampness.
Do not assume that a container or storage layout will prevent condensation, mold, or damage. Electronics, delicate goods, and temperature-sensitive items may not be suitable for an unconditioned shed. Check the storage instructions for each item, and address building moisture concerns based on the shed and local conditions.
8. Review the Layout and Keep It Working
After arranging the shed, try the routine you expect to use. Open the doors, walk the route, remove the largest equipment, and reach the tools you need most. If an item is awkward to retrieve, move it before the shelves and bins become permanent fixtures.
Use labels and consistent zones so items have a clear place to return to. At the start or end of a season, review what you actually used and move seasonal supplies to a location that suits their next retrieval. Check the shed and stored goods periodically, especially after severe weather or when you notice a leak or damp area.
Small-Shed Storage Checklist
- Measure the interior and note doors, windows, fixed features, and large equipment.
- Sort belongings by type, size, and frequency of use.
- Decide what needs to stay before buying organizers.
- Keep everyday items easy to reach and preserve a clear route.
- Use wall storage only with suitable attachment points and verified hardware limits.
- Verify structural capacity before adding overhead storage.
- Keep heavy items low and stable.
- Label bins and avoid burying frequently used belongings.
- Protect moisture-sensitive items and inspect the shed periodically.
Make the Layout Fit Your Shed
A small shed can store more usefully when the layout follows your inventory and daily routine. Measure first, clear out items that do not belong, then add storage where it preserves access. If a wall or overhead organizer requires structural attachment, check the relevant building and hardware specifications before installing it.